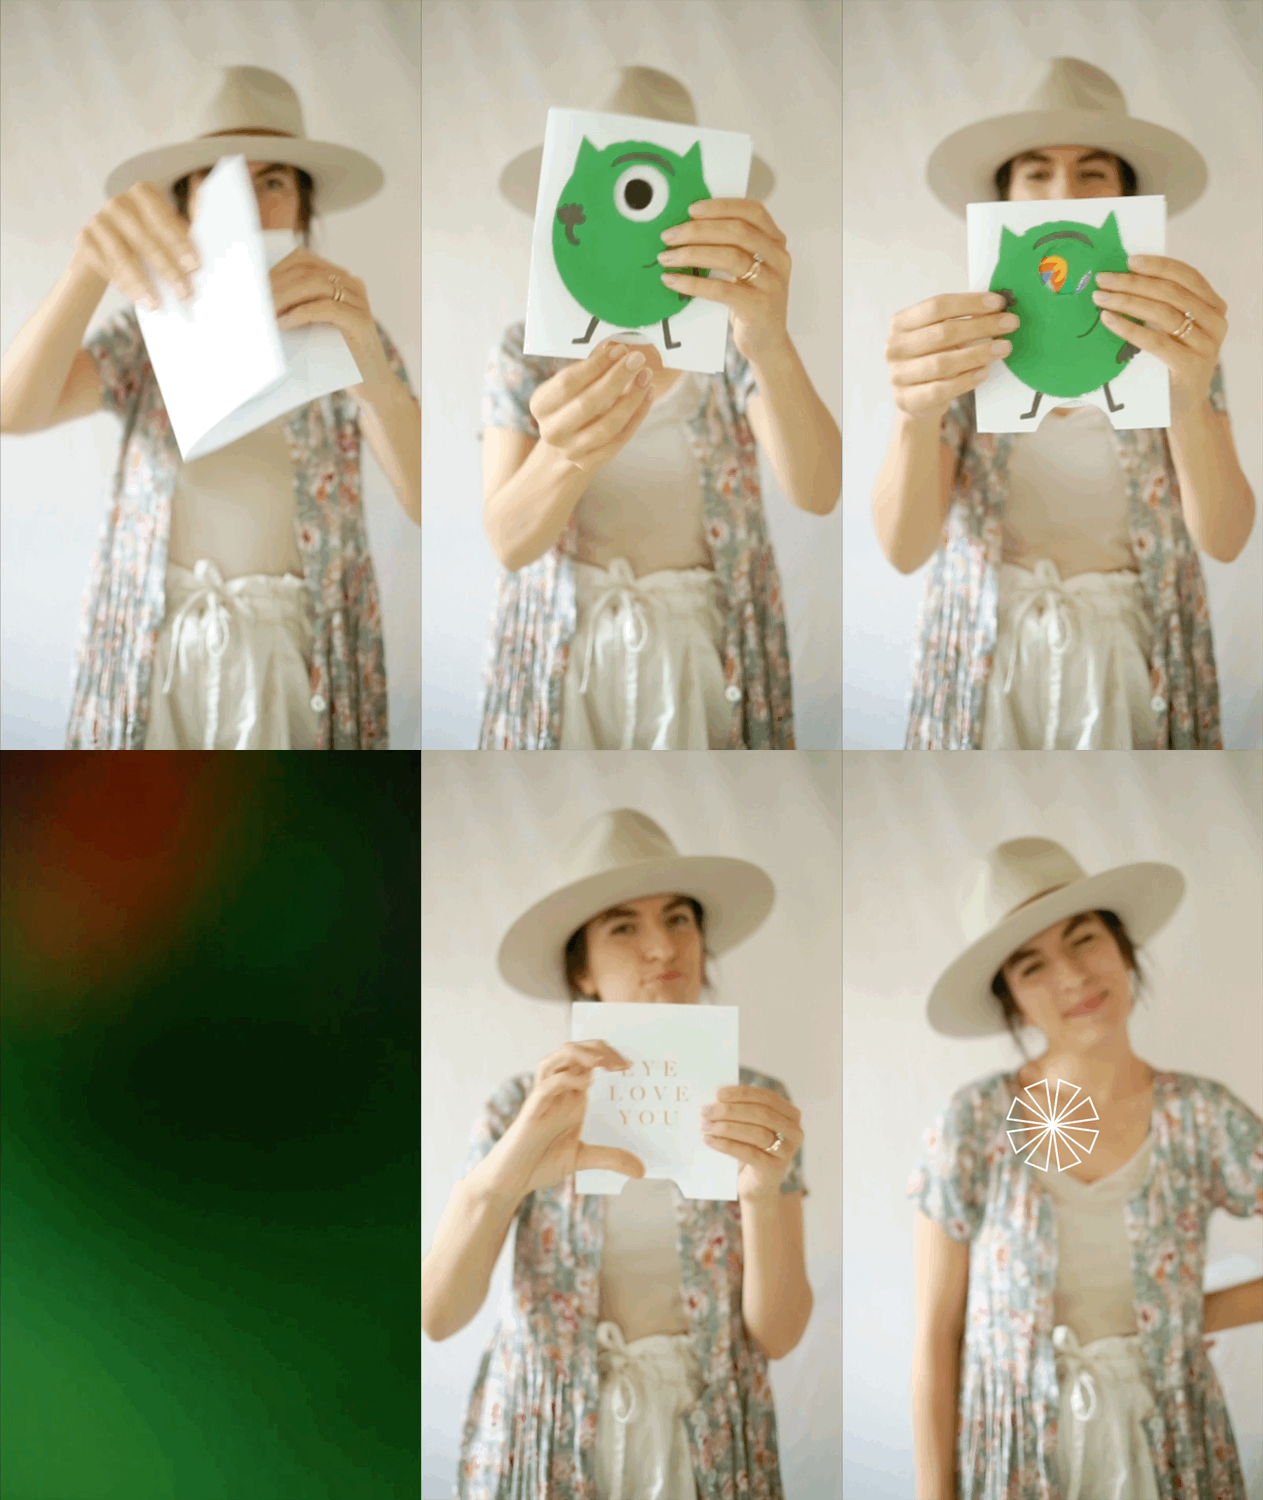
Monster Pop Up Card Printable + DIY
Recently, I’ve been thinking a lot about monsters.
When Disney Plus came out, I re-watched Dont’ Look Under the Bed— a Disney Channel Original Movie I never thought I’d see ever again. PLEASE tell me you were equallya s INTO and FREAKED OUT by this movie as I was back in the day!
It was TERRIFYING when I was a kid. And even watching it now, at 30, I totally saw how creepy it was and understand why I was (and sometimes still am) afraid to walk by the edge of my bed— I’m afraid some creepy hand is going to come out and grab me.
And then, after instilling AN EVER PRESENT FEAR of walking by my bed, always afraid of the Boogie Monster, Disney gave me every reason to put to silence my fears— with Monster’s Inc. The sweetest, funniest, most tear-filled story EVER.
Monsters, all of a sudden, had feelings, heart, sadness, and maternal instincts. They weren’t that different from me after all.
COVID has had me looking forward to any and every holiday this year— Maybe because I’m excited to have something to celebrate and I’m excited to wield my decor and outfit creativity? I just need SOMETHING creative to do!
So, with monsters and Halloween just around the corner, I decided to create a Monster Pop Up Card DIY to celebrate my love (and sometimes fear) of monsters. I thought you might enjoy making your own at home too! Whether it’s for yourself, your co-worker, your kids, or your long distance pen-pal!
Let’s Start Pop’n!
First, You’ll need to pick whether you want a Green or Pink Monster and print out the free template I’ve provided!
Items you’ll need to make this: A printer, paper, scissors, and tape!
HINT: The Green Monster may or may not resemble a certain one-eyed Disney character we all know and love. I think the Pink Monster looks like a friendly McGyver with a mullet.
How to Make Your Own Pop Up Card:
1. Fold Page 1 in half, so Monster is on front, and words on our back.
2. Cut along dotted lines with card folded in half.
3..Cut out all three circles along the dotted lines. Do not cut along the black lines on the Base Circle.
4. To connect your circles correctly, first place the Base Circle on your surface with both flaps folded upward toward the center.
5. Place Eyeball Circle directly on top of your Base Circle, making sure the flaps go through the center hole on your Eyeball Circle.
6. Then place your final Top Circle on top of your other circles, making sure the flaps from your Base Circle go through the center of the top circle. Once the flaps of your base circle have gone through the middle of your other circles, flatten the flaps down to lock all three circles together. Your Base and Top circles should be sandwiching your Eyeball circle.
7. Open your Monster Card and Place your circle sandwich inside the card. Line up one of the eyeballs with the Monster eye on the outside.
8. Once an eyeball is lined up, take a piece a tape and place it along the back access of your Base Circle, and stick the base to the card. You will know if the tape is in the wrong spot, because your Eyeball Circle should be able to spin freely.
9. Close your card and test out spinning the Eyeball circle. Does it move freely? Once it moves correctly, tape the insides of your Monster card together to keep it shut.
10. Gift your card to someone who needs to know they are loved!
Have you tried this DIY? Do you have any questions about the process?
Check out my quick “How to” Video at the top of this post to get an idea of what to do!
Stacie


