How to Make a Wall Papered Backdrop
A home decor trend I’ve love and wanted to incorporate into my own home, is the “painting a giant-ass shape on your wall” trend. Whether it’s an archway, circle, or random assortment of “larger than life” shapes. I love this look. It offers an opportunity for walls to have a pop of color or dimension. In my opinion, it’s the perfect statement backdrop to boring or neutral furniture.
I taped the paper onto my panel, just in case I get tired of it, I can take it off easily!
As a renter, most of the time our renting rules don’t allow paint or much on the walls at all, which means I’m always trying to figure out how I can achieve the look without making my project permanent. And as much as I love removable wall paper and am aware it’s an option, you have to know… it’s WAYYY out of my budget.
With that in mind, I had the idea to take a past DIY photo-booth backdrop I had made, and turn it into a rent friendly statement piece/photo booth backdrop. While this piece I made is mainly for fun photoshoots of my outfits, I have about a million ideas for how I can use these painted or wall papered panels when we move back into our apartment in New York. Especially when it comes to just propping them up against the wall as a statement.
Here’s how I made the photo booth backdrop:
1. Panel- $10 You can buy these huge panels (LINK TO PANEL) of insulation at Lowes or Home Depot. These panels are super light weight and can be cut into any shape you need with an exacto knife or jigsaw. I didn’t cut mine this time around, but I think it would fun to cut an arch into the top.
These panels are not necessarily a green friendly project. But if you are gentle with them and use them over and over again, you are getting a lot of bang for your buck, especially if you like to re-paint or change up your style every now and then. And who knows, maybe they will help insulate the wall you put them on ;)
2. Cover your Panel in Paint or Paper. You can prime and paint both sides of them. They soak up paint so you might want to do a layer or two of primer first. I’m not sure if you can put Peel and Stick Wall Paper on them, but if you can, that’s an amazing plus. I’m going to wall paper one side of my panel and paint the other side. So I have two different patterns and colors to work with!
I used a Paper Roll for my “wall paper” ($10 at HobsLobs). I bought a bulletin board paper roll in my favorite shade of yellow. I had been considering painting my panel, but decided to go with paper instead. I literally just stapled the paper onto the board and it stayed! Paper is easier to remove in case I decide to switch up my design or cut an arch into my panel some day (I will probably switch up my design AND carve an arch into the panel in the next few months, so I wanted to make it an easy switch).
3. I made my own stencil using cardstock and an exacto knife, but if you have a Cri-Cut you could easily make your own stencil that way.
I traced a bunch of actual teapots and coffee canisters I found on google in Adobe Draw. Then I printed them out two to a 8.5x11 page. Then I cut out each shape with my exacto knife. I then taped each stencil I created together to create one giant stencil. And just like any other stencil, I taped it down to the paper (with painters tape) and used a sponge brush to dab on paint.
4. Tips for Painting on your stencil: (1) Tape the top and bottom to the paper to keep your stencil in one spot. (2) You aren’t stenciling on a wall, if it’s easier to stencil with the panel on a table or the floor, do that! (3) Test out your paint colors on an extra scrap piece of your background paper first. I had a lot of colors I wanted to use, but in the end I decided to stick to the one color that looked best. (4) When you paint onto the stencil, you’ll want to lift up the stencil while the paint is still wet so the stencil doesn’t stick to the paper or rip apart.
This entire project took me about 5 hours, if that. Cutting out the stencil and painting it on were the most mundane parts, and they didn’t even last that long! I love this idea so much and can’t wait to see how I can incorporate it into my own home decor!
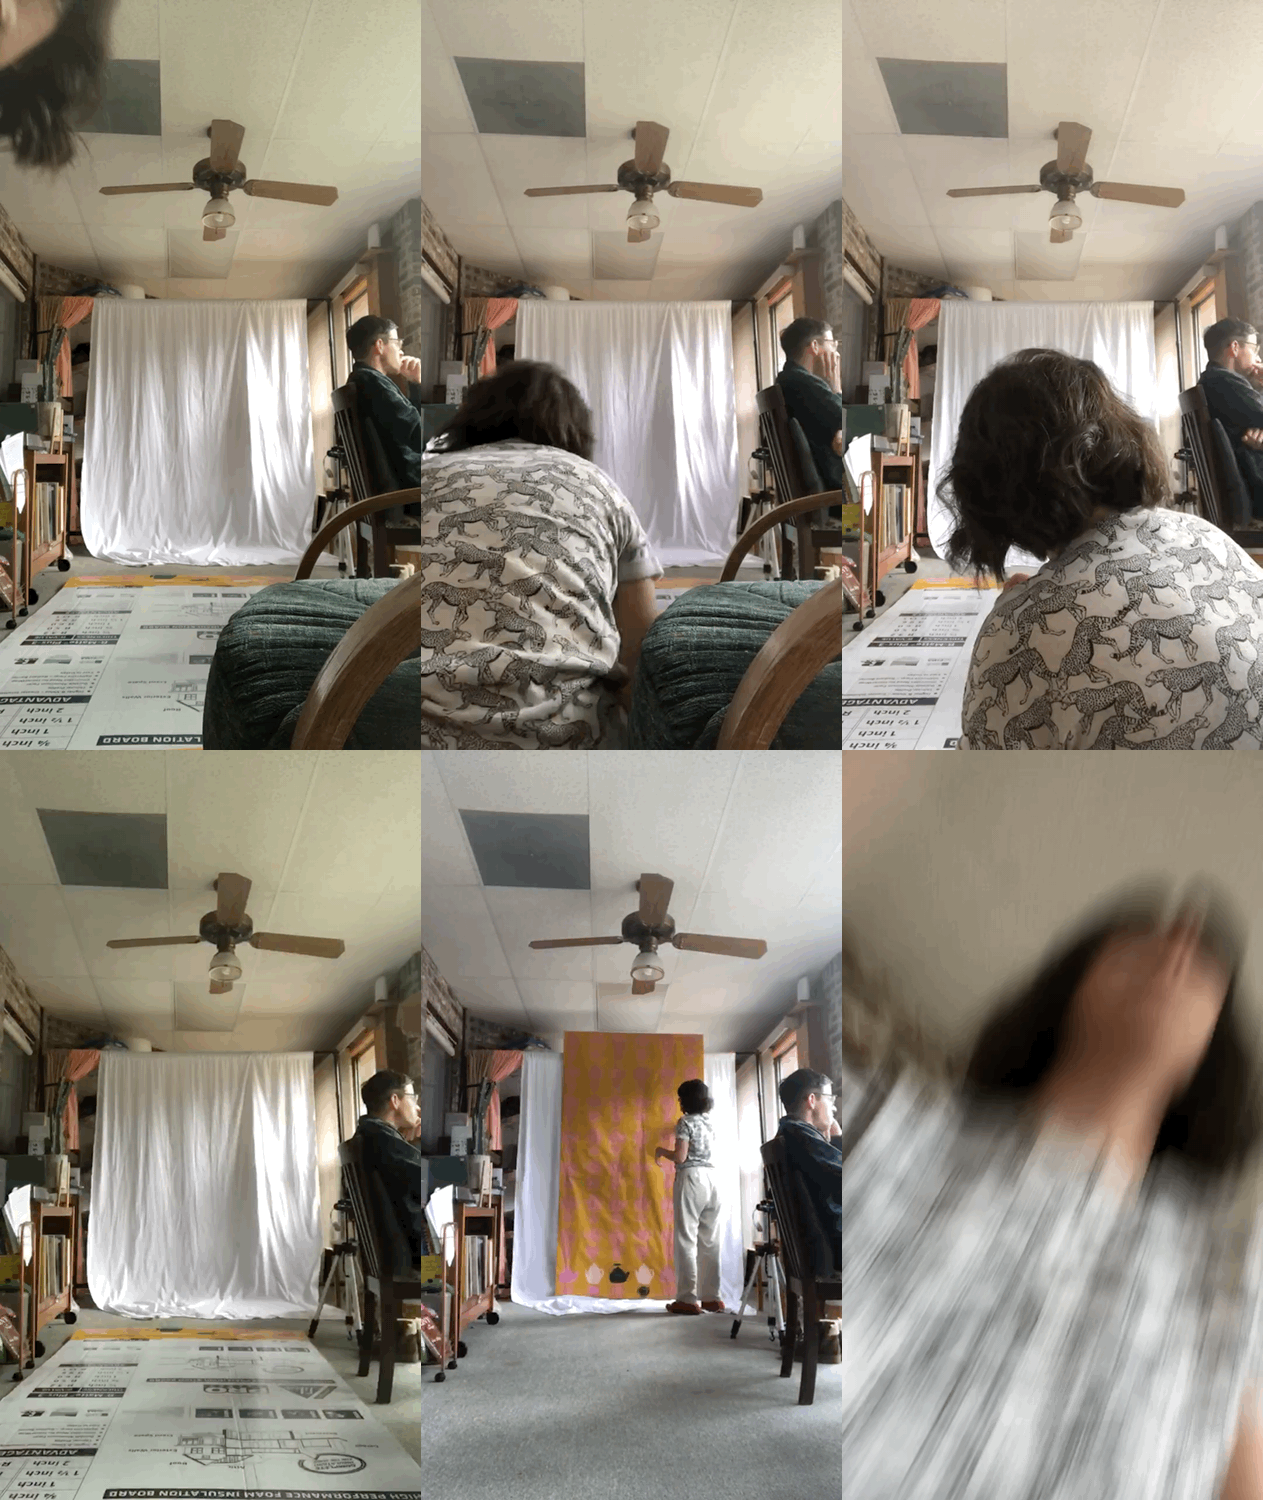
Isn’t this photo-booth wall I made so fun? It’s okay if these loud colors aren’t for you, but they are very on brand for me.
Is it time for you to start making your own photo-booth wall?! Feel free to ask any questions about the process in the comments!
Stacie


